
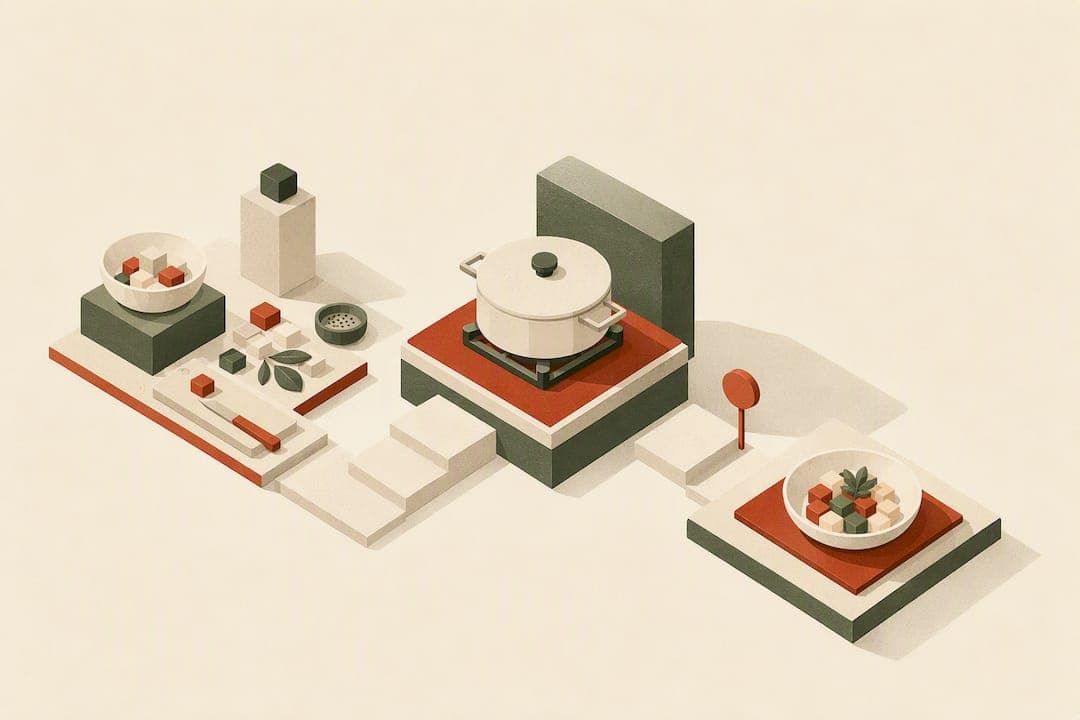
Step-by-step cooking is a repeatable workflow that breaks any recipe into timed, visual steps so you get reliable results every time. It works because it replaces guesswork with sequence: mise en place, heat control, timing cues, and a taste check before you plate. Below, you get a reusable template, a worked dinner example, and the fixes for when a step goes sideways.
TL;DR:
- Precooking ingredients and staging tools before heat starts are essential to prevent scorch and ensure timing accuracy.
- Mastering fundamental heat control methods such as sautéing, simmering, and roasting provides a versatile foundation applicable to all recipes.
- Turning recipes into a structured template with clear timing, visual cues, and parallel steps helps achieve consistent results and simplifies scaling.
- Recognizing early signs of common mistakes allows for quick corrections like lowering heat or adding liquids, reducing the risk of ruined dishes.
- Using dedicated cook mode apps with step-by-step instructions and timers supports better workflow and minimizes distractions during cooking.
Table of Contents
- What Does Step-by-Step Cooking Actually Involve?
- Core Techniques and Heat Control Every Home Cook Should Master
- Build a Repeatable Step-by-Step Recipe Template
- Worked Example: One-Pan Garlic Butter Chicken and Rice
- Common Mistakes and How to Fix Them Mid-Cook
- How a Cook Mode and Built-In Timers Support Every Step
- Practice Technique, Not Just Recipes
- Cook Every Recipe Without Losing Your Place
- Sources
- FAQ
What Does Step-by-Step Cooking Actually Involve?
Step-by-step cooking means preparing every ingredient and tool before heat touches the pan, then executing a fixed sequence of timed actions instead of reading ahead mid-recipe. You are not improvising. You are running a checklist.
Before you start any dish, gather these:
- Tools: chef's knife, cutting board, measuring cups and spoons, a reliable kitchen timer, and at least one heavy-bottomed pan
- Pantry staples: kosher salt, neutral oil, black pepper, garlic, onion, and a starch base (rice, pasta, or potatoes)
- Mise en place actions: measure every ingredient into small bowls, chop vegetables to matching sizes, stage everything within arm's reach, and preheat your pan or oven before you touch raw ingredients
This staging step is where NYT Cooking's soup guide puts its emphasis: get your aromatics chopped and ready before the pan gets hot, because a stalled pan while you dice an onion is how vegetables scorch.
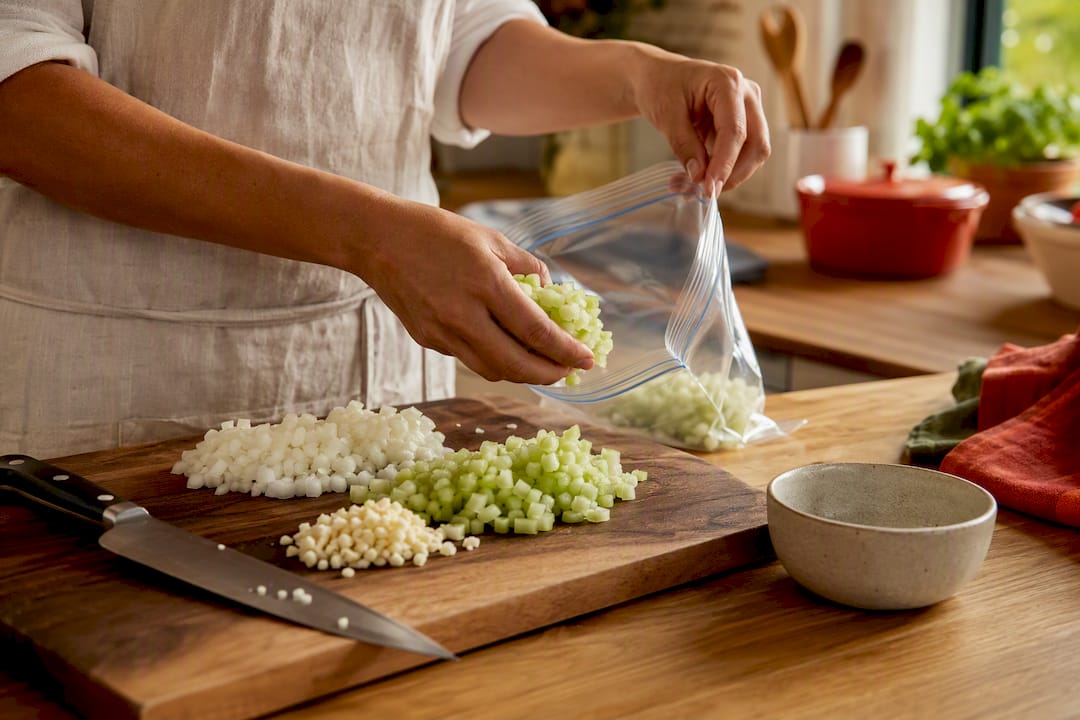
Pro Tip: Prep double the onion, garlic, and celery you need for tonight's recipe, and freeze the extra in a labeled bag. Future you gets a five-minute head start and one less excuse to skip cooking dinner.
Core Techniques and Heat Control Every Home Cook Should Master
Recipes come and go, but techniques carry over to every dish you'll ever make. Cooking basics guidance consistently points to mastering a handful of heat-control methods rather than memorizing hundreds of recipes, because a sauté you understand at a mechanical level works whether you're making stir-fry or seared chicken thighs.
- Sauté: Medium-high heat, thin layer of oil, food in a single layer. The oil should shimmer, not smoke, before food goes in.
- Simmer: Small, lazy bubbles breaking the surface. If it's rolling and violent, that's a boil, and it will toughen proteins and break sauces.
- Roast: Dry heat in the oven, usually 400°F or higher, for browning and caramelization. Space food out so air circulates.
- Bake: Similar to roasting but usually lower and more even heat, used for dishes with a set structure like casseroles or bread.
- Steam: Indirect moist heat that cooks gently without direct water contact, ideal for vegetables and delicate fish.
Judge heat by what you see and hear, not just the dial number. Oil that shimmers and ripples is ready; oil that smokes is already past its point. A properly heated pan makes food sizzle immediately on contact. Silence means the pan isn't hot enough yet, and food will sit and steam instead of sear.
Build a Repeatable Step-by-Step Recipe Template
Every recipe, regardless of cuisine, follows a similar backbone once you strip away the specifics. Turn any recipe into a followable guided recipe by annotating it with this template:
- Prep: List every ingredient with exact measurements and note any advance steps (marinating, soaking, thawing).
- Heat setup: State the pan, oven temperature, and preheat time. Example: "Preheat oven to 425°F, 12 minutes."
- Build flavor: Cook aromatics first, low and slow, before adding the main ingredients.
- Main cook: Add proteins or starches with a specific time and a visual doneness cue, not just a clock number.
- Rest and finish: Note resting time for meats, and when to add finishing touches like herbs or acid.
- Taste and adjust: Build in a checkpoint to taste before serving.
When you annotate your own copy of a recipe, mark:
- Where to start a timer and for how long
- Which steps can run in parallel (rice cooking while chicken rests)
- Swap options for common allergens or missing ingredients
Scaling works the same way: double ingredient amounts, but heat-dependent steps like searing or roasting rarely need to double the time, just double the batches or a bigger pan.
Worked Example: One-Pan Garlic Butter Chicken and Rice
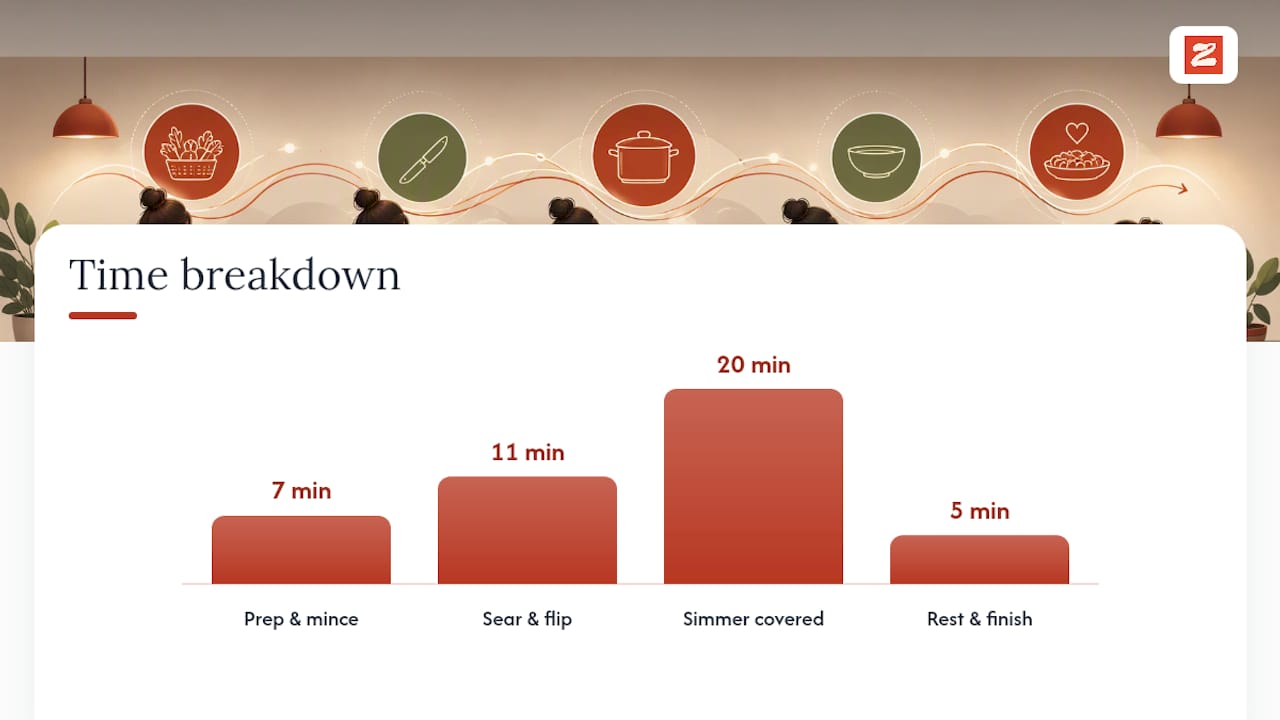
This serves four, takes about 40 minutes total, and uses one skillet from start to finish.
Ingredients: 4 boneless chicken thighs, 1 cup rice, 2 cups chicken broth, 3 cloves garlic, 3 tablespoons butter, salt, pepper, fresh parsley.
- Step 1 (5 minutes): Season chicken thighs with salt and pepper on both sides. Mince garlic and set aside.
- Step 2 (6 minutes): Heat 1 tablespoon oil in a skillet over medium-high until it shimmers. Sear chicken skin-side down until golden, about 5 to 6 minutes. Do not move it early; a good sear releases the chicken from the pan on its own.
- Step 3 (5 minutes): Flip chicken, cook another 4 to 5 minutes, then remove and set aside. It will finish cooking later, so don't worry if the center is still slightly pink.
- Step 4 (2 minutes): Lower heat to medium, add garlic and butter, stir for 60 seconds until fragrant, not browned.
- Step 5 (20 minutes): Add rice and broth, scrape up any browned bits from the pan (this is where the flavor lives), nestle chicken back in, cover, and simmer on low. Set a timer for 18 to 20 minutes.
- Step 6 (5 minutes): Rest off heat, covered, for 5 minutes. Fluff rice, taste for salt, and finish with chopped parsley.
Checking for doneness by sight and touch, not just the clock, is part of why ChefSteps built out 400+ technique guides alongside its recipes: knowing what "done" looks like transfers to every protein you'll ever cook. Chicken is done at 165°F internally, but a quick visual check works too: juices should run clear, not pink.
Common Mistakes and How to Fix Them Mid-Cook
Most kitchen disasters are fixable if you catch them early. Recognizing the signs before a dish is ruined matters more than perfect technique.
- Burning instead of browning: Lower the heat immediately and add a splash of liquid or oil to stop the cooking momentum.
- Steaming instead of searing: Your pan is overcrowded or not hot enough. Remove excess food and let the pan reheat before continuing.
- Dry meat: Usually overcooked or under-rested. Slice thin, add a pan sauce, and rest longer next time.
- Undercooked centers: Return to heat at a lower temperature, covered, to finish gently without burning the exterior.
- Broken or separated sauce: Whisk in a tablespoon of cold butter or cream off heat to re-emulsify. Too thin means simmer uncovered a few extra minutes; too thick means whisk in warm broth or water a splash at a time.
Pro Tip: If a dish is heading in the wrong direction, pull it off the heat entirely for 60 seconds. That pause alone stops most burning and gives you time to reassess without panicking.
How a Cook Mode and Built-In Timers Support Every Step
An organized workflow only works if you can actually see the next step without scrolling past ads or hunting through a screenshot. A cook-mode interface, one that shows a single step at a time with a built-in timer, mirrors the template above almost exactly.
- Single-step focus matches the "one action at a time" structure of the template, so you're never juggling three paragraphs of instructions while your hands are covered in flour.
- Built-in timers attach directly to steps like the 20-minute simmer above, so you don't rely on a phone timer labeled "timer 3" from last week.
- Shopping lists generated from saved recipes cover the mise en place stage before you're even in the kitchen.
Some recipe apps keep recipes, ingredient lists, and cooking steps together on your device, with data kept private by default rather than scattered across screenshots and bookmarked links.
Practice Technique, Not Just Recipes
The fastest way to get better at cooking isn't collecting more recipes. It's repeating the same core techniques until they're automatic. Pick one skill (searing, for instance) and cook three different recipes built around it over two weeks: seared chicken, seared fish, seared tofu. Cooking basics guidance backs this up: focused, repeated practice on one technique sticks better than jumping between unrelated dishes.
— Nathan
Cook Every Recipe Without Losing Your Place
There are apps built for exactly the workflow this article describes: a single place to save recipes from links, screenshots, or your own notes, then follow them step-by-step with timers built into each stage.
No more losing a recipe in a sea of saved posts, and no more juggling a phone timer separate from your instructions. Some cook modes show one step at a time, keep your shopping list synced to what you saved, and store everything on your device by default. If the template and worked example above made sense to you, Zuppi turns that same structure into something you tap through while your hands are busy. Save your next recipe and try cook mode on the first dish you make this week.
Sources
For deeper technique explanations, ChefSteps offers over 1,300 recipes paired with guides on why each method works. Tesco Real Food's step-by-step collection is a good model for short, scannable recipe formatting. For flavor-building specifically, the NYT Cooking soup guide walks through layering aromatics in stages.
- ChefSteps
- How to Make Soup: Our Ultimate Step-by-Step Guide - NYT Cooking
- Cooking Basics for Beginners: Learn How to Cook from Start
FAQ
What Is the 2-2-2 Rule in Cooking?
The 2-2-2 rule isn't a single standardized culinary principle. Definitions vary depending on the source and context, so treat any specific version you encounter as one interpretation rather than an established universal rule.
What's the 90/10 Rule in Cooking?
Like the 2-2-2 rule, some cooking rules don't have one fixed, widely agreed-upon definition across sources. If you see such a rule referenced in a specific recipe or guide, it's best understood in that source's own context rather than as a universal cooking law.
How Do I Turn a Regular Recipe Into a Step-by-Step Guide?
Break the recipe into labeled phases: prep, heat setup, flavor building, main cook, rest, and taste check. Add specific timing to each phase and note visual doneness cues instead of relying only on the clock, the same structure covered in the template above.
Does Zuppi Include a Cook Mode With Timers?
Yes. Zuppi's cook mode displays one step at a time with built-in timers attached to relevant steps, along with a shopping list generated from your saved recipes. Current pricing and subscription details are listed on the Zuppi site.
What's the Best Way for a Beginner to Practice Cooking Skills?
Focus on one core technique, like sautéing or roasting, and repeat it across two or three different recipes over a couple of weeks rather than jumping between unrelated dishes. This repeated practice builds the kind of technique fluency that transfers to almost any recipe you try next.